
FREE DOWNLOAD REVEALS
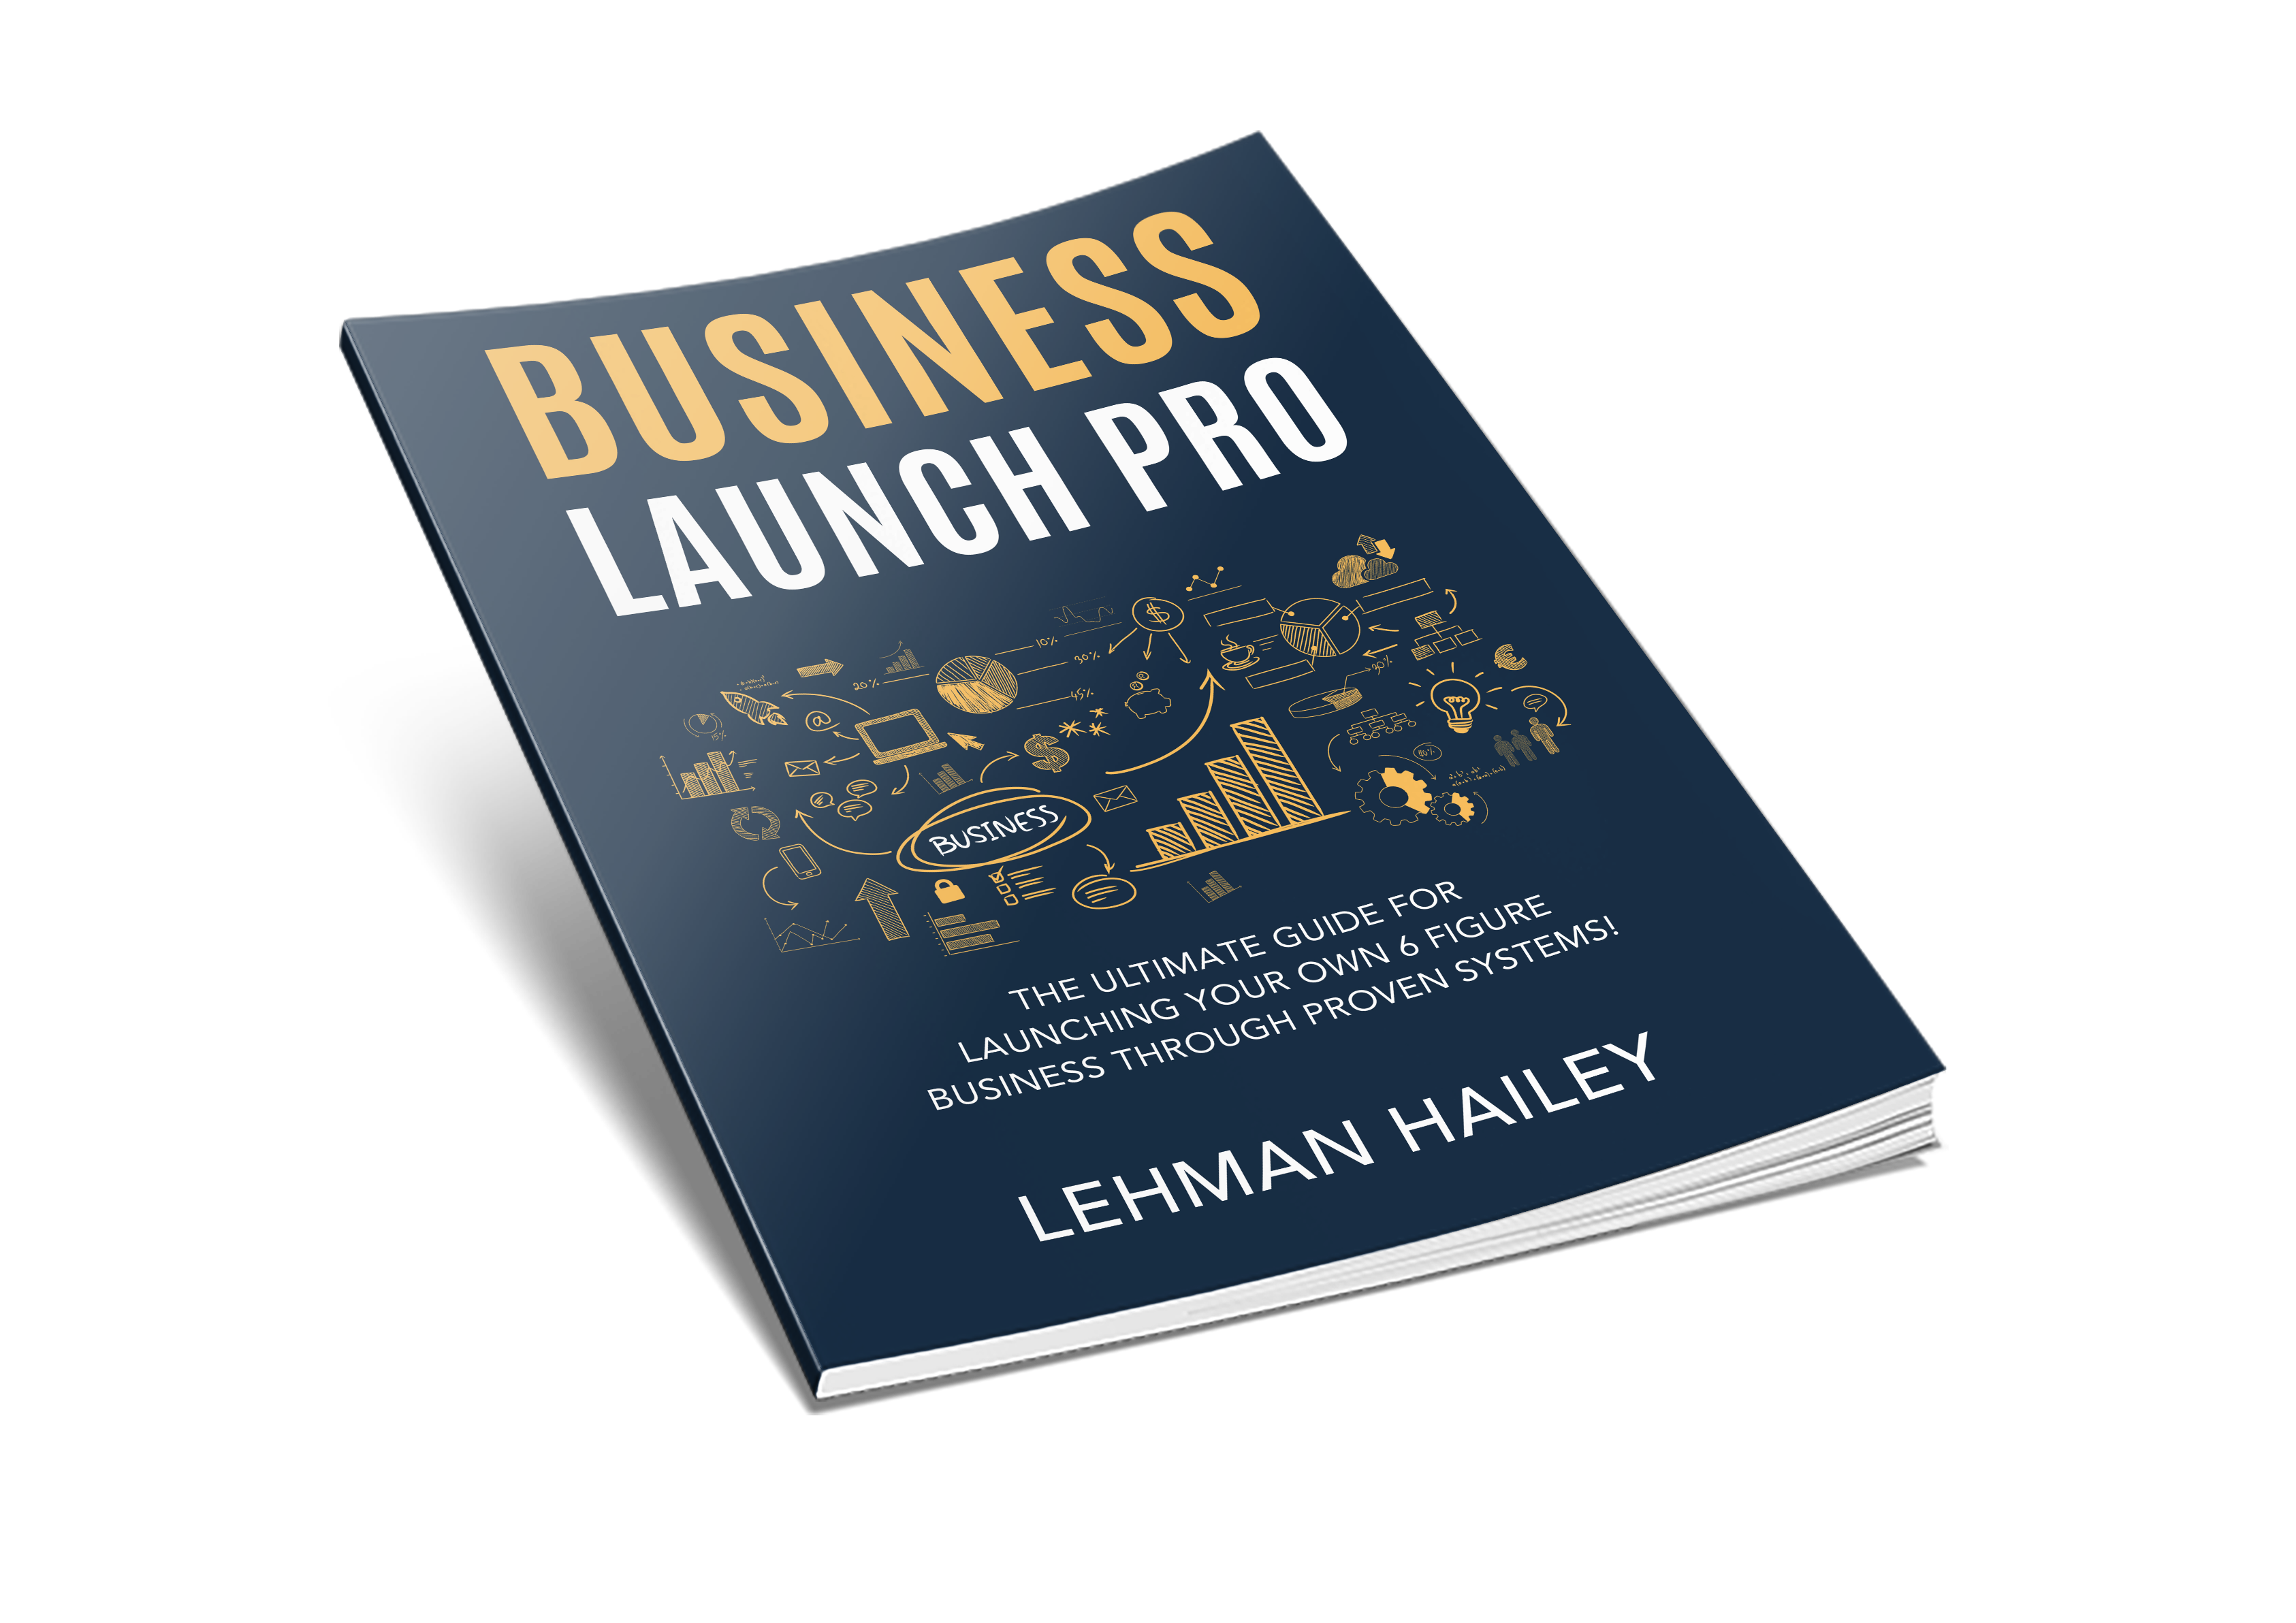
The Ultimate Guide To Launching Your Own Successful Business Through Proven Systems!
Turn Your Passion & Talent Into A Successful Online Business
- Your Data is Safe- We Respect Your Privacy And Will Never Spam You
Plus - Grab Your $1,332 In Bonus Training Videos Below

Ready To Make a Real Change? Let’s Build a Business Together!


Download Your Free Copy Of My "Business Launch Pro" Playbook To Discover:
The "EXACT" Step by Step Playbook I have followed over the past 20+ years to launch successful businesses.
Secret Business Funding Source that allows you to access the cash you need to launch and grow your business!
How to quickly avoid the #1 Mistake most entrepreneurs make that causes them to take months to launch their business.
The absolute “bullet-proof” way to ensure you are profitable and not leave it to chance!!
Two Businesses you can launch in 30 Day or Less with ZERO Experience.
Your Data is Safe- We Respect Your Privacy And Will Never Spam You
$1,332 in free Bonus Training & Videos When You Download My Free eBook Now...
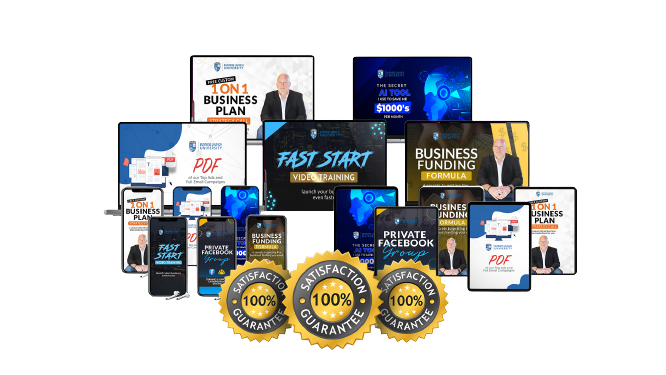
$1,332 in free Bonus Training & Videos
$1,332 IN BONUSES
Get The eBook With All The Training Material and Videos...No UpSells, No Credit Cards - All 100% Free...
If Your Are Even Remotely Interested In Starting Your Own Business You Need To Grab This Free Training Now...
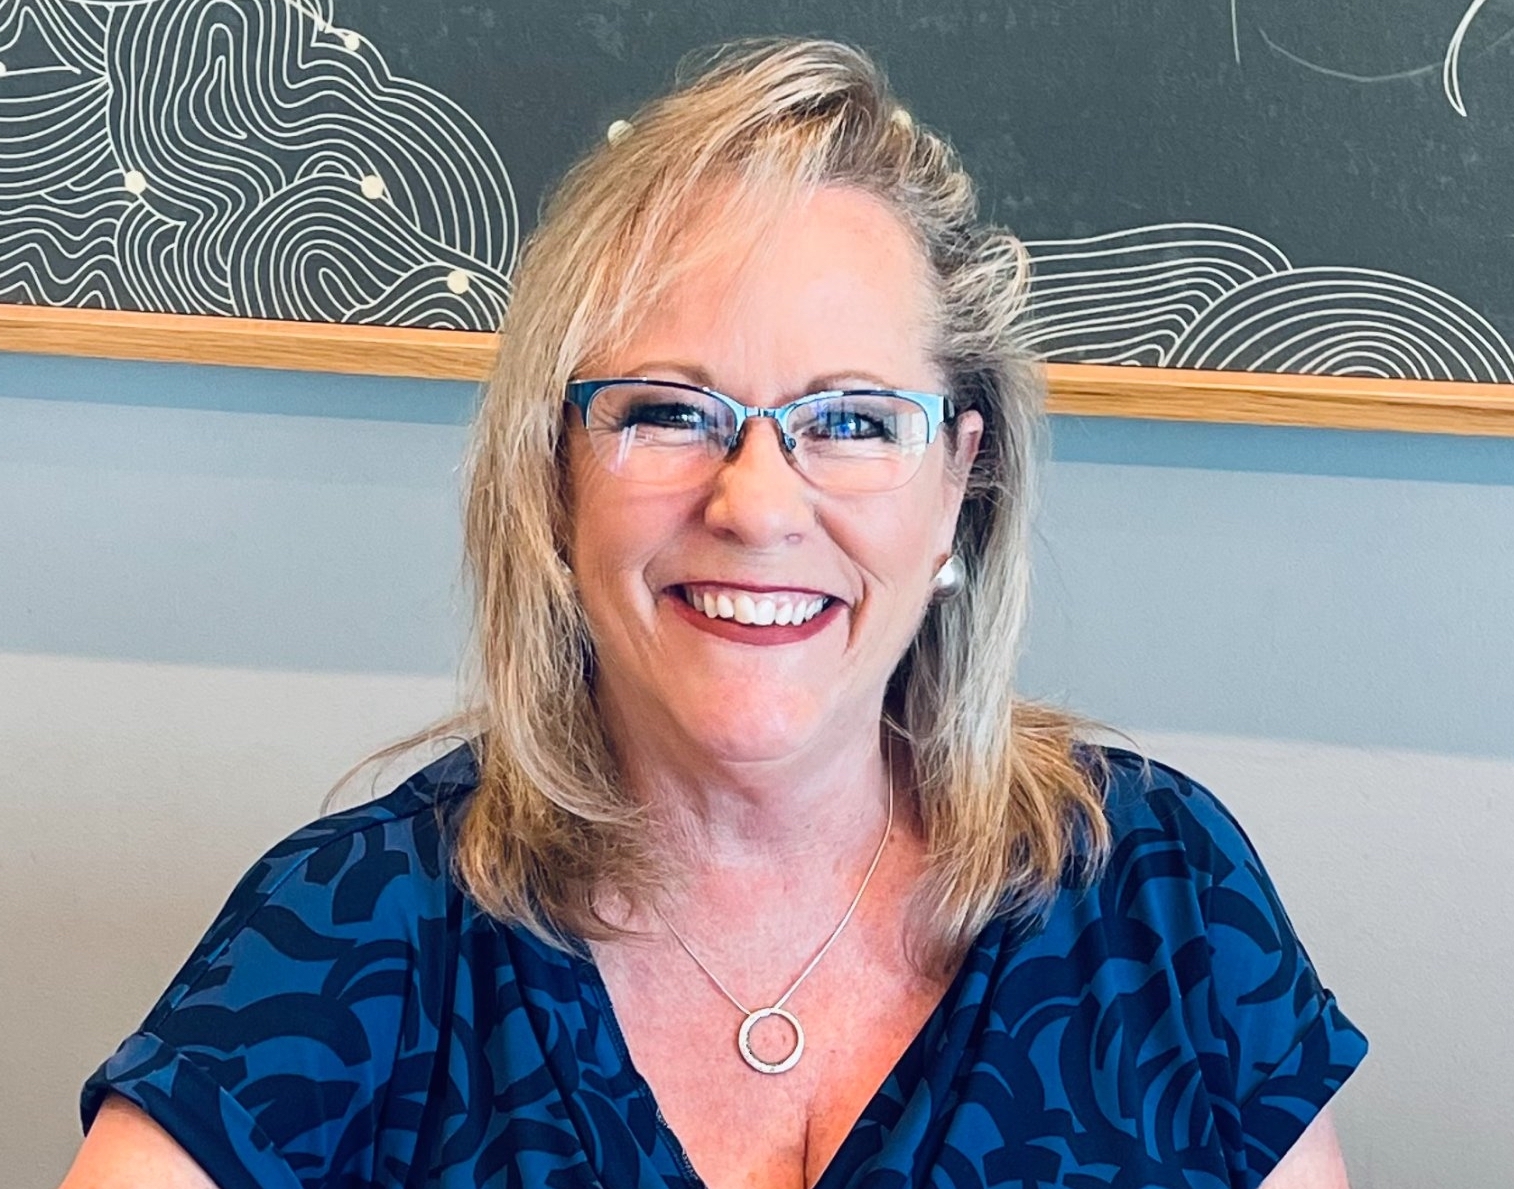
Hey there, I'm Lehman Hailey, and welcome to my site. As a seasoned Business and Marketing Coach with over 20+ years of firsthand knowledge, I've had the privilege of launching my own businesses, mentoring others, and even writing a couple of books along the way.
I remember what it was like to have big dreams and face the daunting challenge of starting and growing a business. That's why I'm here, driven by an unwavering passion to support small businesses and entrepreneurs like you in achieving your goals. Together, we'll navigate the twists and turns of this thrilling journey, and I'll be right there by your side, sharing the lessons I've learned and the strategies that have made all the difference.
Believe me when I say that the work I'm doing now is the most exhilarating and fulfilling experience I've ever had. There's simply no greater joy than helping fellow entrepreneurs, just like you, unlock their full potential and witness their dreams materialize into tangible success stories.
So, let's embark on this extraordinary adventure together. Get ready to be inspired, empowered, and equipped with the tools and knowledge you need to take your business to new heights. I am here to be your guide, your cheerleader, and as well as your support as we make your entrepreneurial dreams a reality. Let's build your business together!
Lehman Hailey
Your Data is Safe - We Respect Your Privacy And Will Never Spam You
Testimonials
“You know that saying, ‘some folks come and go from your life, and some stay a life time.’ Lehman is one of those folks for me, that will stay a lifetime. He has been a colleague, a mentor, and even a boss for me. However, the most valuable asset for me is Lehman’s loyalty and integrity. That’s the best kind of friend, colleague, and mentor anyone could have. Loyalty and integrity speak volumes for many folks and it’s huge for me. Thanks for all you have done for me, Lehman!"
~ Patty P.

"I have known Lehman for close to a decade. In that time I have been fortunate to have called him partner, coach, mentor, teacher, but most importantly friend. He has always been a helping hand when I needed it and I am grateful for the collaborative mastermind sessions that have always created great results. If you are considering working with Lehman, by all means, take it from someone who has benefited greatly; take the opportunity, you will be grateful you did."
~ Mark M.